Friday, September 20, 2013

Cuttin" and Scrappin" Challenge

#37
Challenge:   Use 3 punches
September 17 - 23rd, 2013

At Cuttin" and Stampin" this week we are having a "Three Punch Challenge." I love using punches, I own many of them, and never thought twice about how many I could use on a single page or card until this challenge. I was given two shades of Bazzill Basic blue papers to use along with using three punches of my choice. It took me the longest time to finally come up with a card using these two requirements as the basics of my card. I started off with a top fold dark blue card, measuring 11" x 4.25", scored at 5.50".  I cut my next layer out of the light blue at 4" x 5.25". I inked the Paper Smooches Borderlicious tiny polks dots border with VersaMark, sprinkled it with a white embossing powder, and then heat set the layers. I then used a 2.50" circle punch on a scrap piece of inked beige pattern paper, and a snowflake punch using a scrap of the dark blue paper. Using my hand punch I punched a small hole in the center of the snowflake and inserted a randum large snowflake brad I had in my stash and attached it to the light blue layer.


 I cut a 18" piece of ribbon and tied a bow on the bottom of the top layer.
I adhered my top layer to my card base. I stamped my verse on another scrap piece of the light blue cardstock and using my third required punch I punched this out along with a second punch on the dark blue cardstock and matted the verse.
 
 
This is the Paper Smooches "Borderlicious" stamp set and the required two shades of Bazzill papers.
 
 
These are the three punches I used for my card

 
 I am done! I must say, this was a real challenge for this gal! I may have used three punches on other projects, but I will remember this one!


Thank you for visiting my blog today. If you would like to join us in one of the Cuttin' and Stampin' weekly card challenges please go to the link here. If you would like to follow our Cuttin' and Stampin' Blog click here
 
Happy Scrappin!

Please make sure your creation post has a link back to Cuttin' and Stampin'. 

Thanks for playing along we will be announcing the winners on September 27, 2013.
 
You can link your project here.

Monday, September 16, 2013

Smash Book for Alex

My oldest Grandbaby will be thirteen this week and we are having her birthday party on Saturday.  She is sooooo excited about finally being a teenager! When I received my monthly kit from Flamingo Scraps I was tickled to see the Heidi Swapp Memory Files, coordinating pockets and banners included. With smash books being so popular right now, I knew I wanted to make some type of fun memory book for Alex.

I started off with the largest folder file and cut it in two and then into four 5.5" x 7.5" pieces.


I took some bright cardstock and loose leaf paper and cut them all into 5.25" x 7.25" pieces
 
 
Using the smallest folder I punched two holes along both ends of the folder. Using this as a template, I proceded to punch a hole in all of the papers and inserted two ring binders to hold the book together.


From there I used the Heidi Swapp four pocket pouches, lined them with Cosmo Cricket Glitter Sheets, inserted a couple of the Maya Road Kraft Library Cards, and attached them to each of the four cut down folders


On the cover I used two ribbons from our monthly kit. One was attached along the top edge of the banner and the other just above the banner and I secured everything with staples on both ends.
 
 
I then added some randum rub-ons to say "7th Grade" along the tabbed edge,
 
 
some FancyPants Cork Arrows. and some pink chip board alphabets to add her name to the cover.

 
In the end I was happy with this project. I think Alex will just love it. She loves to scrapbook too and I can imagine she will be in my scraproom personalizing this book after her party.


If you would like to follow the Flamingo Scraps Facebook page, please click here, if you would like to follow their blog, please click here, and if you would like to purchase any of the supplies I used for this book, please go to their online store here
 
Enjoy and "Happy Scrappin"


Saturday, September 14, 2013

Using Scraps and Leftovers


I am not sure how you are, but I typicaly do not throw away my scraps. If I can stamp or punch on the smallest area I will save it and use later. After making several projects from my Flamingo Scraps July kit I had a ton of scraps and pieces leftover from both the Merry Christmas and Winter Fun paper collections to make a 12" x 12" page.
 
 I used a 12" x 12" base page, layered with an inked top layer measuring 11" x 11". I adhered strips of inked papers measuring 1/2" to 1 1/2" wide using various lengths next to each other on an acute angle.

 
 From there I layered many of the embellishments found in the Merry Christmas collection pack on the page.


 I also used a corner punch to draw your eyes out to the edge of the page 
 

 and two mats for pictures. 


Here is my finished page. I am really happy with how this finally turned out. At one point I had so many colors and patterns being used, I wasn't sure if I could avoid it being too busy.
 
 
Just to remind you, if you would like to visit the Flamingo Scraps Blog please click here,
 If you would like to follow us on Facebook please click here
To shop and order from the store pleae click here
 
Happy Scrappin!!

Happy 13th Birthday Alex

This will be short and sweet. I am pooped from a long, busy  day today and a full day tomorrow celebrating Alex's 13th birthday. She was cranky, full of attitude, and moody almost her whole 12th year, but the last month or so she had returned to being the sweetest, oldest Grand of mine. All I hear now is her wanting to get her drivers permit. Noooooo she is growing up just too fast. Once they get their license, the next step is moving out. Need to keep her as my baby girl. Here is the card I made for her. Not 100% happy with it, but I cannot keep my eyes open.

Tomorrow is the BIG GAME.....at least for this week. LOL We have got to beat Texas A&M.  When they joined the SEC two years ago, everyone in Alabama was tickled to have another worthy team in our conference and was pleased to have them join our league, but I never thought we would get beat by them in the first year. Never did the Alabama Football team because they were not prepared for the game. Too worried about the following weeks game and not on that one. Learned our lesson really quick!  ROLL TIDE ROLL!
 
Running to my pillow. Night night.
 
 Happy 13th Birthday my precious Granddaughter.
 

Tuesday, September 10, 2013

Travel Photo Box

While attempting to clean my scrapbook room this past week I discovered several photo envelopes filled with randum pictures from several of our beach trips just thrown in a drawer.  Needing to get them organized, I decided to recreate a project that I taught from my weekly card class. For my Designer Team project today with Flamingo Scraps I decided I would make a travel photo box. Inside the box are six file folders to keep track of your trip highlights.

For the box I started with a 12" x 12" piece of black card scored at 4 1/2" x 7 1/2". Turn the paper and score again at 3" x 9".  Crease and inforce the score lines.

 
 The box base is then assembled and the sides secured with a staple on both sides.
 

For the lid I used another piece of black card stock cut to 8 1/8" x 5 1/8" and scored at 1" on all four sides. The four corners were cut, tapered, adhestive was applied, and then the tabs were folded and secured to the inside of the lid.
 
I cut two 2 3/4" x 4 1/4" and two 4 1/4" x 5 3/4" panels of the
Well Traveled paper collection from Carta Bella. I inked the edges with the
Prima Dark Rust chalk edger and adhered them on the box
bottom and then two 3/4" x 2 7/8"inked strips, two 3/4" x 5 7/8" inked strips, and
one 2 7/8" x 5 7/8" inked panel. I added adhesive and adhered them to the lid.


I inked, layered, and applied several of the element stickers to the front of the box.


 For my file folders, I cut six 9" x 5 1/2" pieces of black card stock. Scored and folded each one at 4 1/2" and layered six inked 5 1/2" x 4 1/8" panels and adhered them to the front of each folder. I then used my We Are Memory Keepers Envelope Punch Board on the top edge of each six pieces of black card stock to create the file folder effect.


Here is my finished travel box. Making this was so much fun.
 
 
You could also use this to store your
4" x 6" photo's, A2 cards, or maybe as a recipe card organizer.
Lot's of creative ideas. If you have any questions, please let me know.
 
.Please check out Flamingo Scraps blog here. To go to their items for sale,
please go to their store here.
 
 I hope you have fun making this too.
 
HAPPY SCRAPPIN!


Back To School Card Exchange

I love making cards and really enjoy swapping cards. I belong to two Facebook groups that do a monthly card swap that I just love. On one of the groups this month, the theme is "Back To School" and we have to use at least 50% of Stampin Up products on our cards. I don't have a lot of current Stampin Up products being a Close To My Heart Consultant, but out of necessity, sometimes you have to think outside the box. I thought my card turned out pretty decent considering my designer paper was a Christmas line! If you don't have a Stampin Up Demonstrator and might be interested in making an order or receiving a catalog, please contact my friend Therese Kirkpatrick.
 
 
Enjoy and Happy Scrappin!


Sunday, September 8, 2013

Anyone need a tissue?

 
I am so ready for fall, cooler weather, and college football. Our Grands started school the end of August, but we are still having a few days with temperatures in the triple digits. As kids in Michigan, when we started school, we normally had long sleeves or a light sweater on. Not here in Fort Worth. This is my first summer living here, but I have heard the heat doesn't give us a break until October. I am ready for some open windows and a cool breeze.
 
My allergies have gone nutty since living here too. One day as I was reaching for a tissue, I stopped and looked at the box, and tons of ideas went racing through my scrappin' brain. Grabbing a ruler, paper, and pencil, within minutes I made some vague measurements and a trial run template. After a few tweaks to my measurements, I was ready to start my projet.
 
I again used the "Winter Fun" paper collection that was in my July kit from Flamingo Scraps. This was such a generous kit. I still have plenty of papers to do a few projets later. I just love these pretty papers. This is a heavy designer cardstock and I thought a 3D project would be perfect.
 
After cutting my papers to size, I used two Spellbinder dies to create the openings in my top layers.
 
 
I inked the edges on each layer, scored, and assembled the box


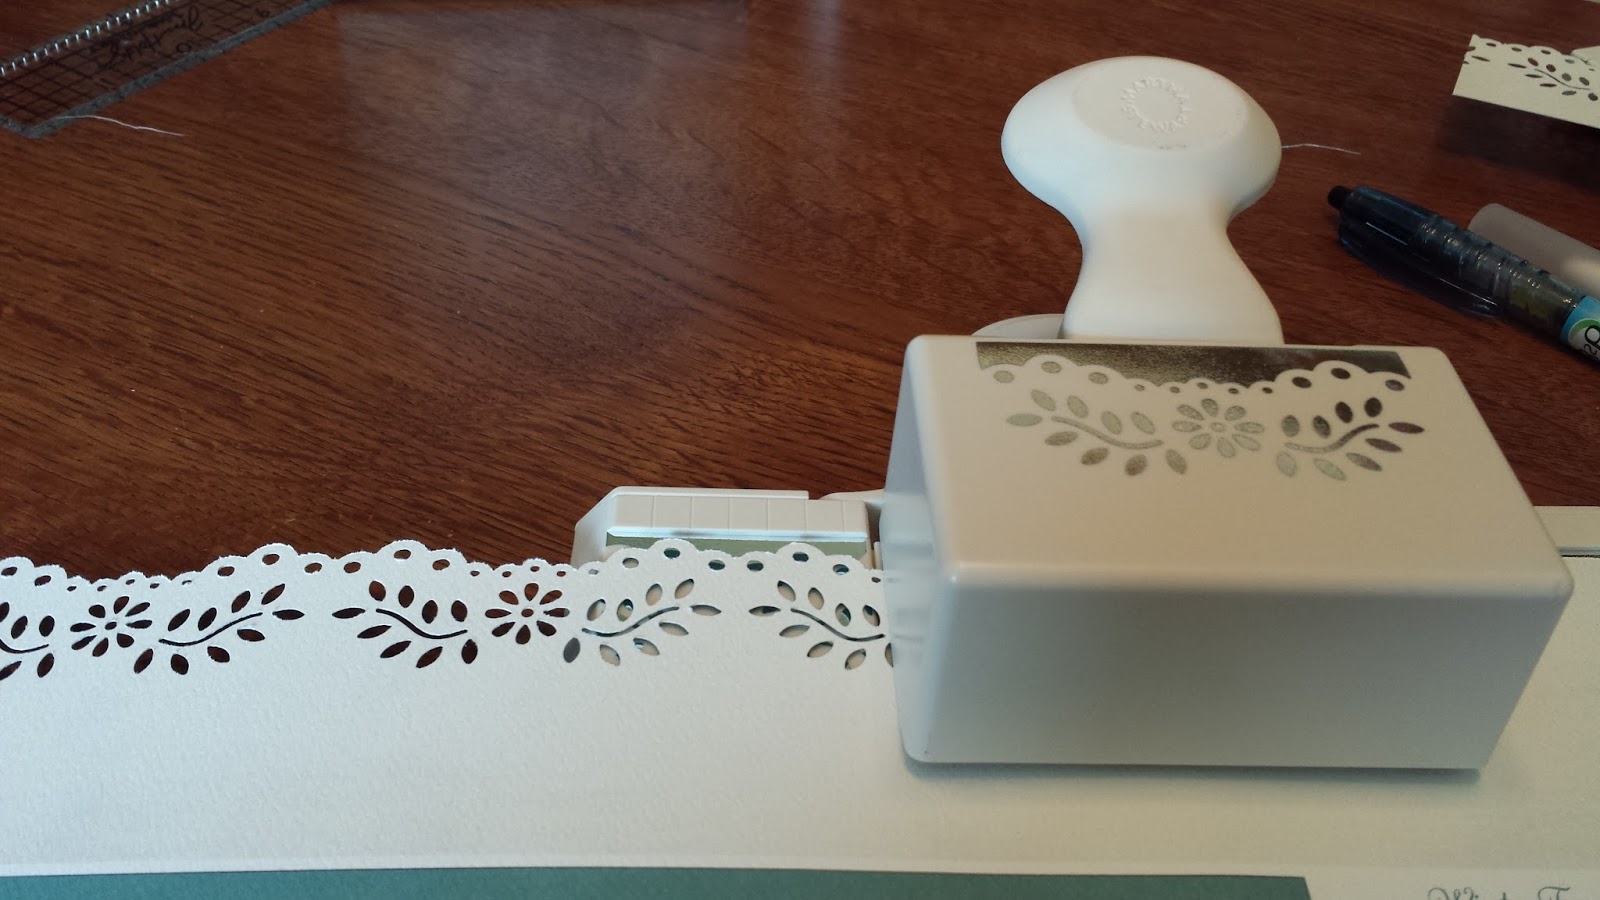
I  covered all four sides of the tissue box.and then used a lace border punch to cut out a strip to add under the lid over the top of the side panels
 
 
I was really pleased with how quickly the box came together. Other than my estimated measurements, matching the lace trim to meet on the sides was the most time consuming. I chose not to add any embellishments on the box. I thought the pretty paper and lace trim spoke for themselves. This was a very easy and quick project. Definitely one I will make again. This would be an adorable Back To School gift for the teachers desk using school papers. Hmmmmm might have to make two of these for my Grands! 


Here is the finished project. I really love how it turned out. Enjoy!
 
 
Happy Scrappin!!


Monday, September 2, 2013

Happiness Abounds!!

I made a post in August that I had some exciting news for September. Well, I have had the honor to be invited to create and design for two Design Teams!!! I posted the link yesterday for Cuttin' and Stampin" and today it is for Flamingo Scraps!! I met Suzanne, the sweet owner several years ago when she had her Ebay store. When she asked me to be a part of her Design Team I was just tickled!! So you will be seeing more activity on my poor neglected blog over the next few months. Here are my July projects I made for our "Christmas In July" as a Guest Designer. Please check out our blog and meet all of the new Designer Team members. That is one heck of a talented group of gals!


I am just soooo excited to be a part of this team!
.Another excuse to stay in my craft room 24/7........can I get a "Roll Tide!"
 
"HAPPY SCRAPPIN!"